Octopus Energy is updating the Intelligent Octopus Go tariff: from early 2026 they will enforce a hard limit of 6 hours per day for “super-cheap smart charging”.
That means if your EV continues charging beyond those 6 hours (even if the charger is still plugged in), any extra time gets billed at the standard “Bump” rate — more expensive.
This guide shows how you can use Home Assistant to track exactly how many hours your car has been charging each day (no matter when), so you don’t accidentally exceed the 6-hour limit and risk being charged at the higher rate.
It works for chargers like Hypervolt, Myenergi Zappi, and Ohme, or any charger that reports its own charge-current or power.
With this you get a simple dashboard showing charge-hours used — and you’re in control.
⚠️ Replace sensor.hypervolt_charger_current with the sensor from your charger that shows power/current when the car is charging.
Before you start– Find the sensor for your charger
Pick from this table:
| Charger | Charging State Sensor (default name) | Status needed (For Step 2) |
| Ohme | sensor.ohme_home_go_status | “charging” |
| Hypervolt | switch.hypervolt_charging | “on” |
No Match in the table? Create your own, You need the sensor that shows how much current/power your charger is sending to the car.
Zappi example
Replace ADDYOURIDHERE with your own Zappi ID.You can find these in Home Assistant under Developer Tools → States.
Step 1 (Optional) – Create the “Car is charging” binary sensor
⚠️ You only need to do this if your charger does not have a sensor in Home-Assistant for charging status.
This turns on when the car is actually charging.
- Go to Settings → Devices & Services → Helpers
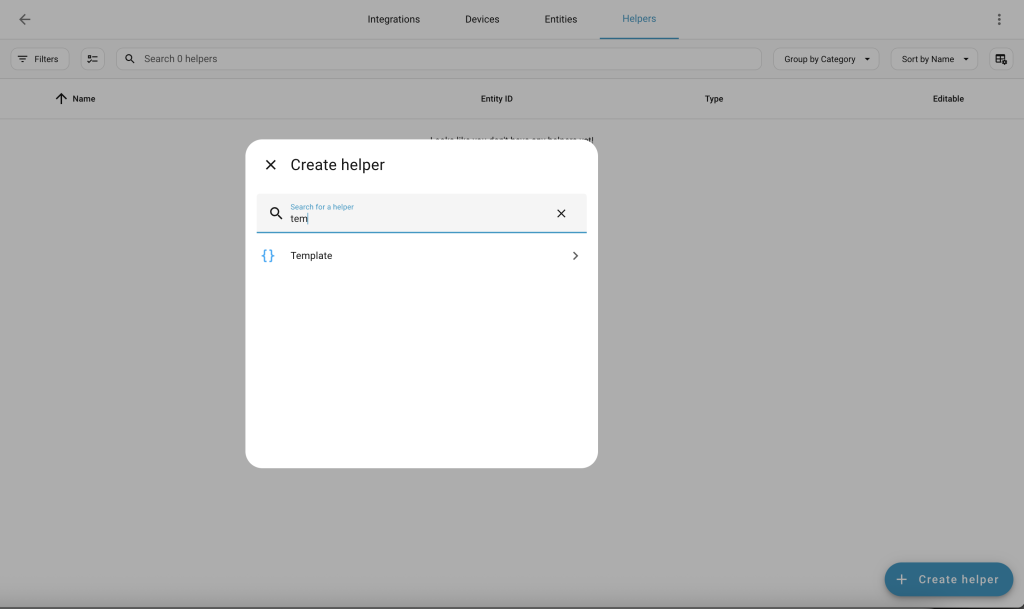
- Click Create helper
- Choose Template
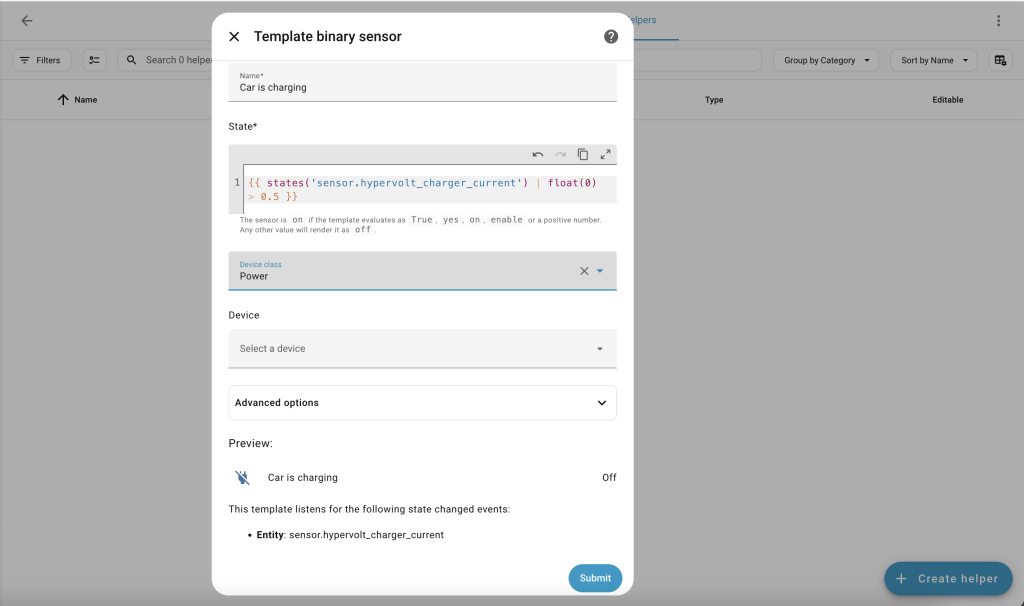
- Choose Binary sensor

FILL IN:
Name: Car is charging
State template: Paste the one that matches your charger.
Hypervolt
{{ states('sensor.hypervolt_charger_current') | float(0) > 0.5 }}Zappi:
{{ states('sensor.myenergi_zappi_ADDYOURIDHERE_internal_load_ct1') | float(0) > 0.5 }}Ohme:
{{ states('sensor.ohme_home_go_current') | float(0) > 0.5 }}Click Create.
You now have: binary_sensor.car_is_charging
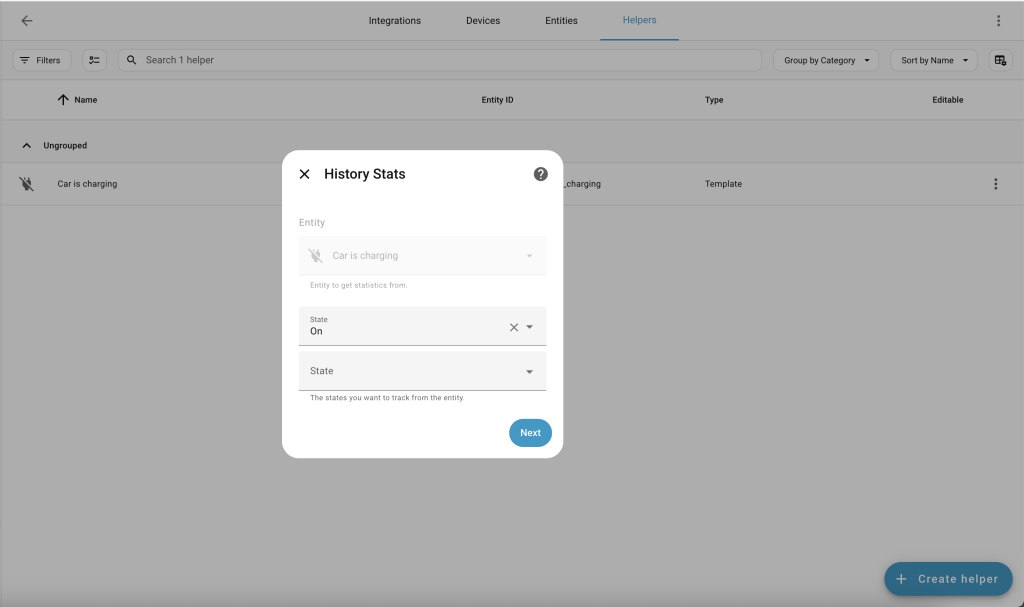
Step 2 – Create the “EV charging hours today” sensor
This counts how many hours your car has charged since 05:30 today.
- Go to Settings → Devices & Services → Helpers
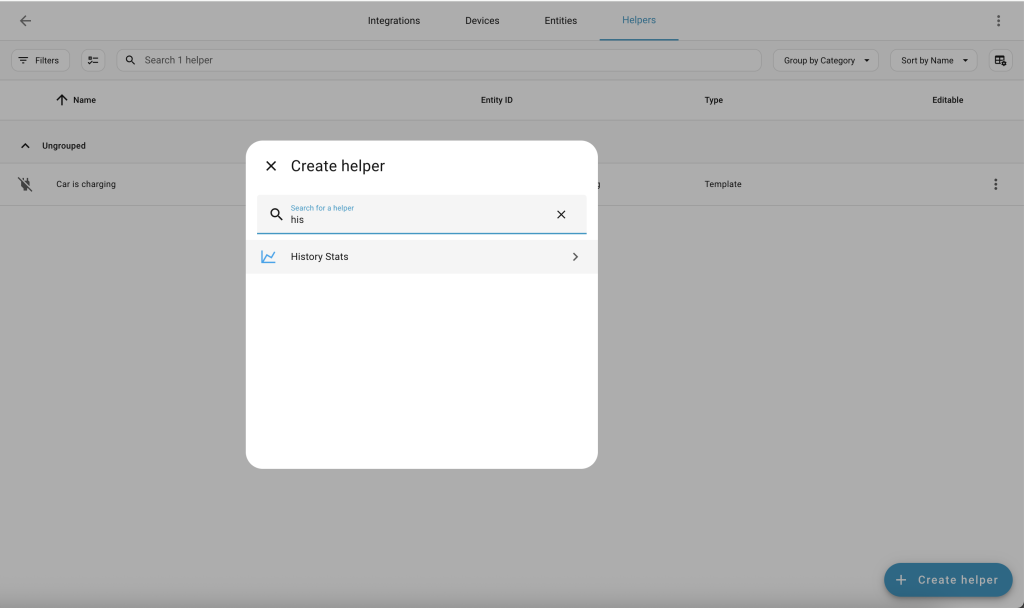
- Click Create helper
- Choose History stats]
FILL IN:
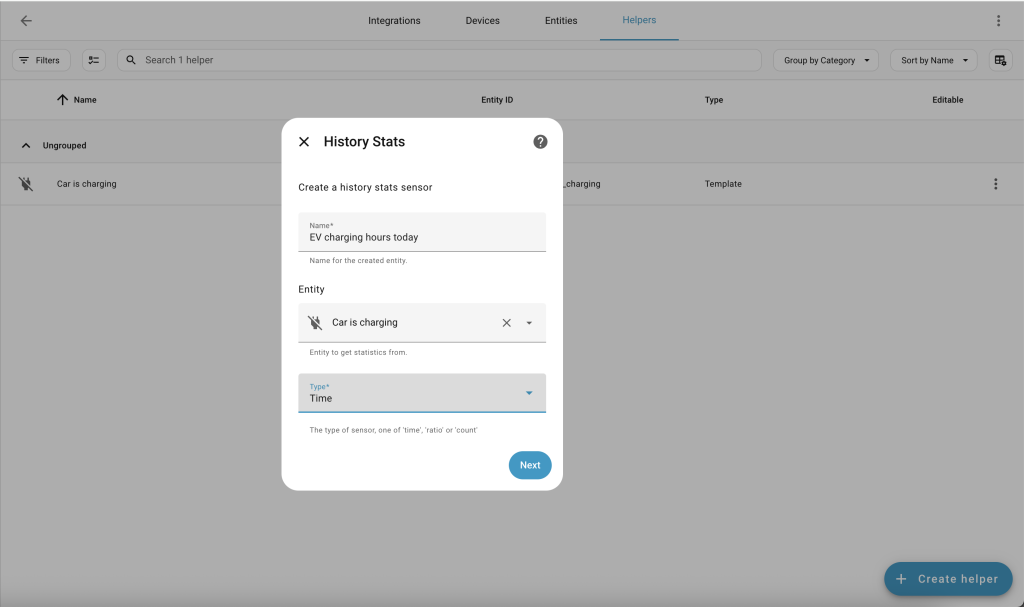
Name: EV charging hours today
Entity: “Pick the sensor for your charger in the table” or “Car is charging”
State: “Pick the state for your sensor in the table above” or “on”
Type: Time
Start:
{{ today_at() }}

End:
{{ now() }}Leave Duration empty and click Create.
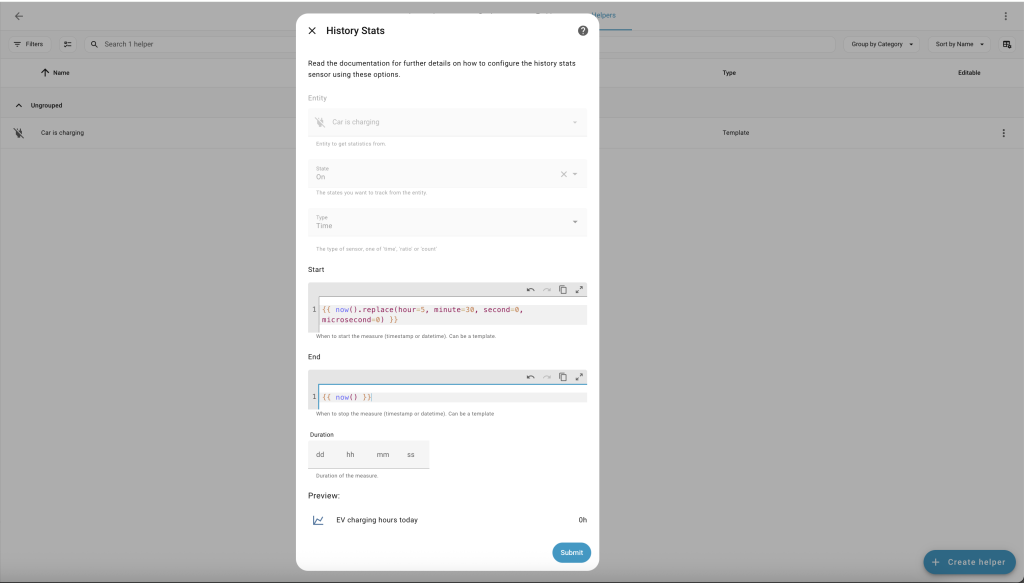
You now have:
sensor.ev_charging_hours_today
This will show values like:
- 1.0 = 1 hour
- 2.5 = 2 hours 30 minutes
- 3.75 = 3 hours 45 minutes
Step 3 – Add it to your dashboard
- Open your dashboard
- Click the three dots → Edit dashboard
- Click Add card
- Choose Entities (or Gauge)
Add:
- sensor.ev_charging_hours_today
- binary_sensor.car_is_charging

Now you can see how close you are to Octopus’s 6-hour limit at a glance.
Leave a Reply